Subscribe now and get the latest podcast releases delivered straight to your inbox.
Running a successful marketing campaign in HubSpot (part 2): Implementing your campaign

By Joe Bachir
Dec 3, 2019
In our first article in this series, we walked you through how to plan out your next campaign in order to run it successfully in HubSpot. If you haven’t read it, I highly recommend you start there!
Once you have created the strategy for your campaign and decided what the main goal is, it is time to start adding everything into HubSpot.
Adding your campaign to HubSpot correctly is crucial in order to make sure that you will be tracking campaign engagement and influence properly. This ensures you’re able to prove the returns on your campaign investment.
In this article, we will walk through every step of successfully implementing your campaign in HubSpot. In our final article, we will dive into how to best analyze your campaign once it has been running, how to make changes, and how to best make decisions for your next campaign.
Creating your campaign in HubSpot
You first want to create a campaign so you can start attributing new contacts and deals you close.
In order to do this, you must create a campaign and associate all assets created for this campaign.
In HubSpot, head on over to campaigns to begin.
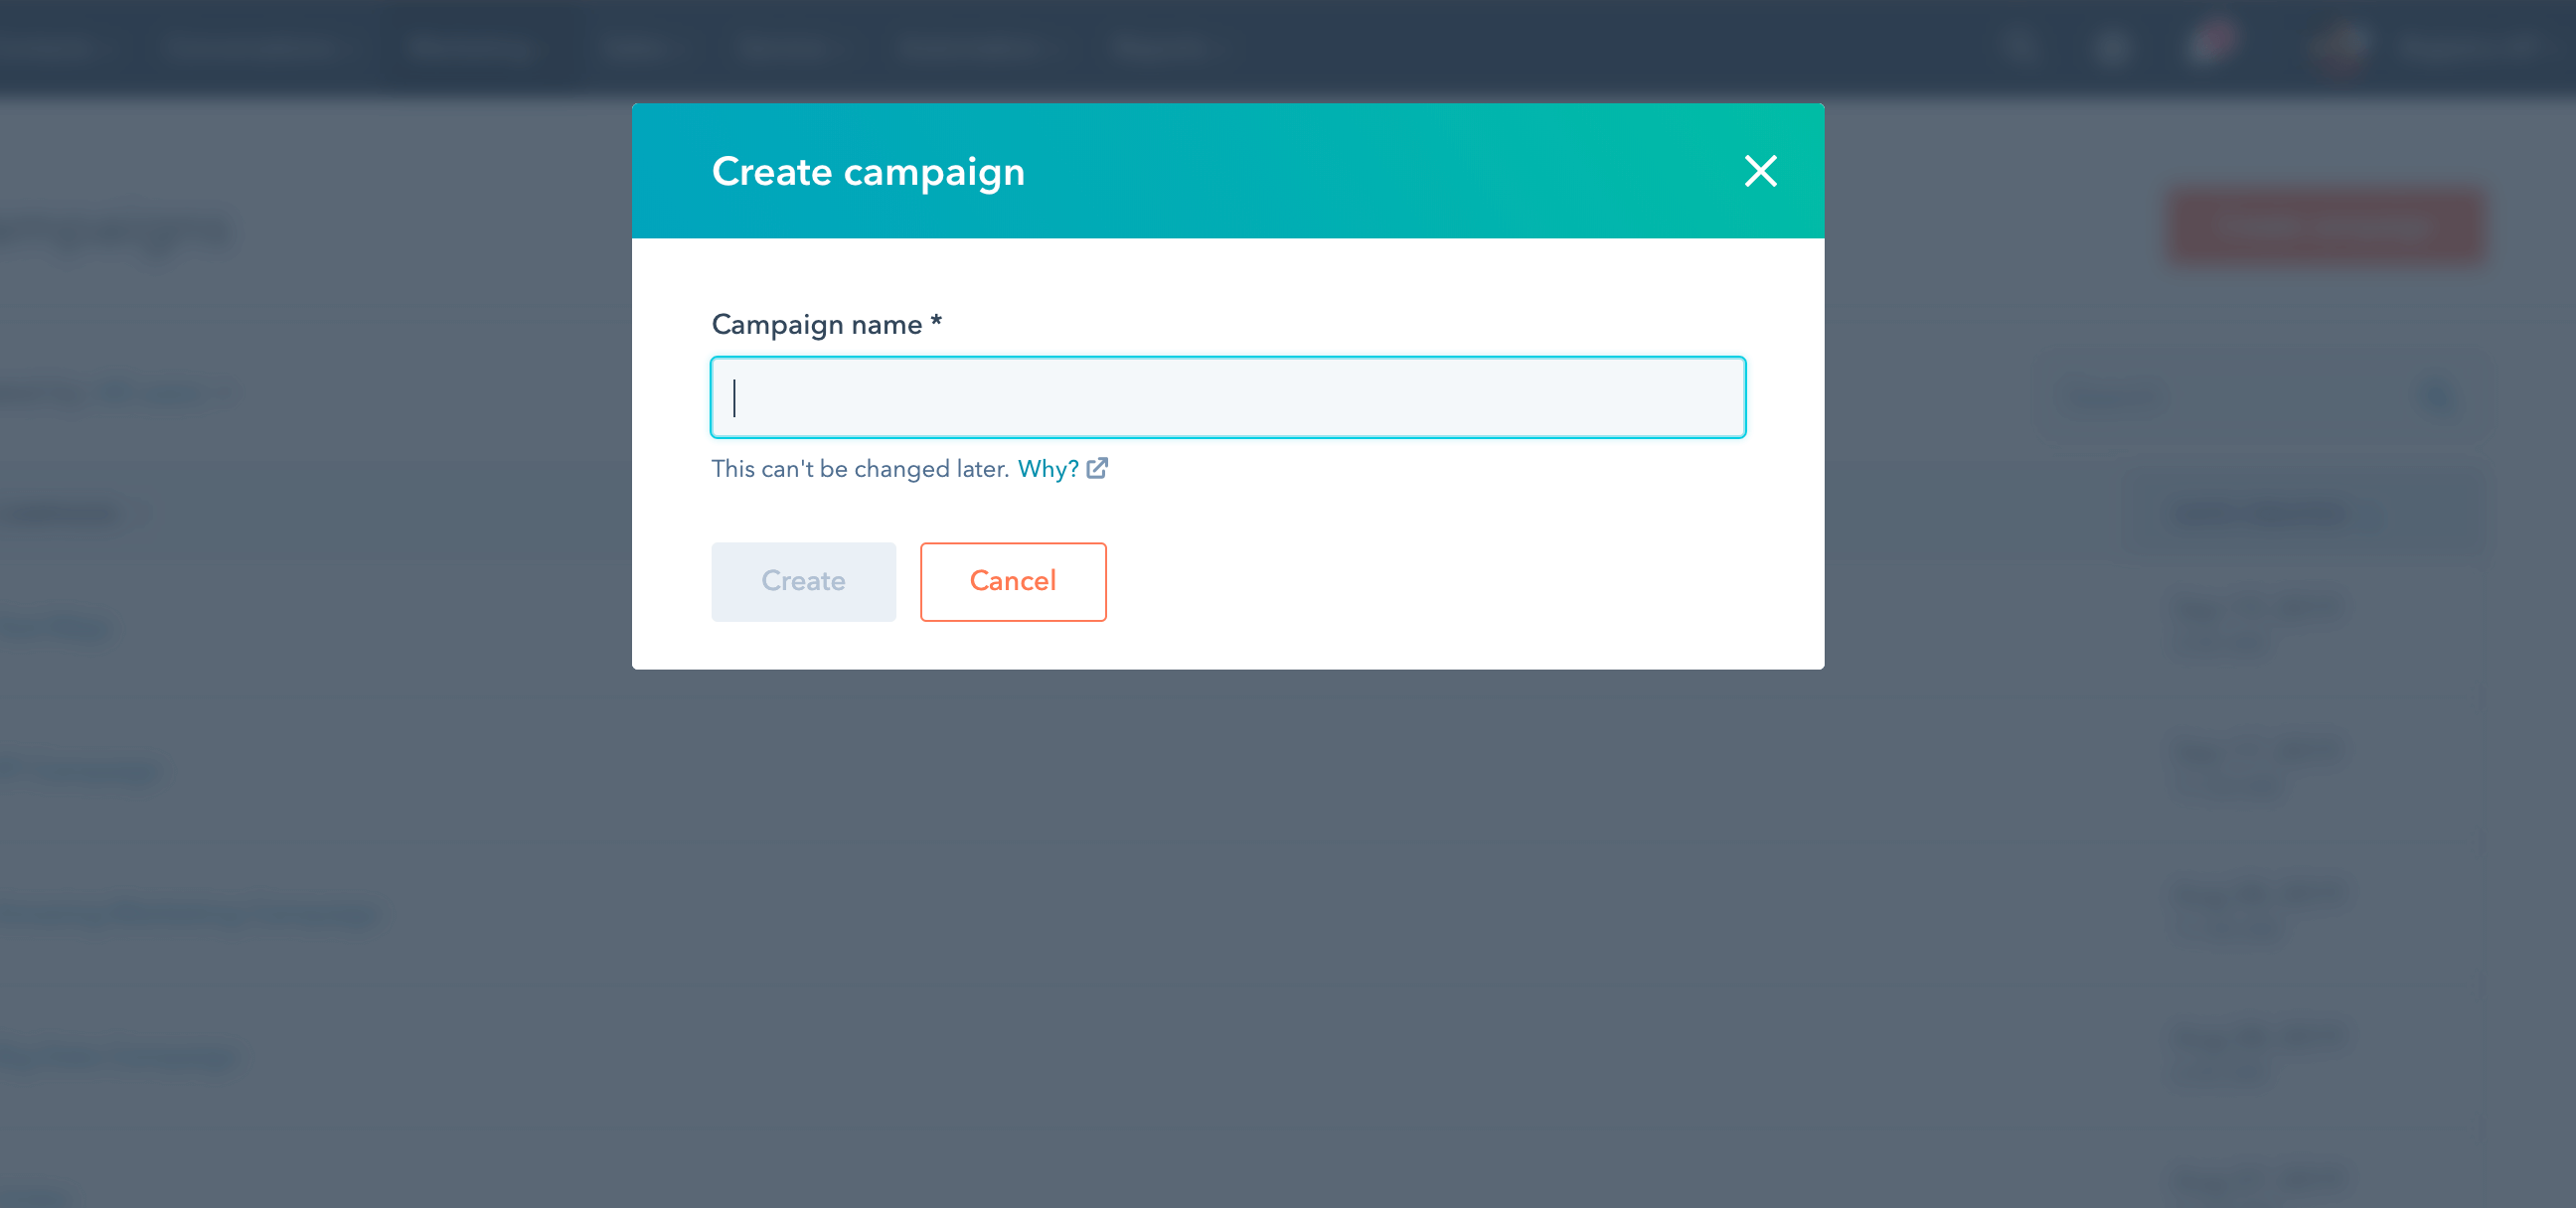
Edit the budget for this campaign, and add any notes that may be applicable. Noting the budget here will help the team understand the exact return on the campaign.
Add your goals. This may include the type of website engagement you want to achieve and influenced revenue from leads.
Creating your campaign assets
Remember, it is important to create the actual campaign in HubSpot using the campaign tool before you have published anything. This is a common issue we see at IMPACT with our clients. You need to make sure you get all of the data from your campaign in HubSpot from the start to see the entire return.
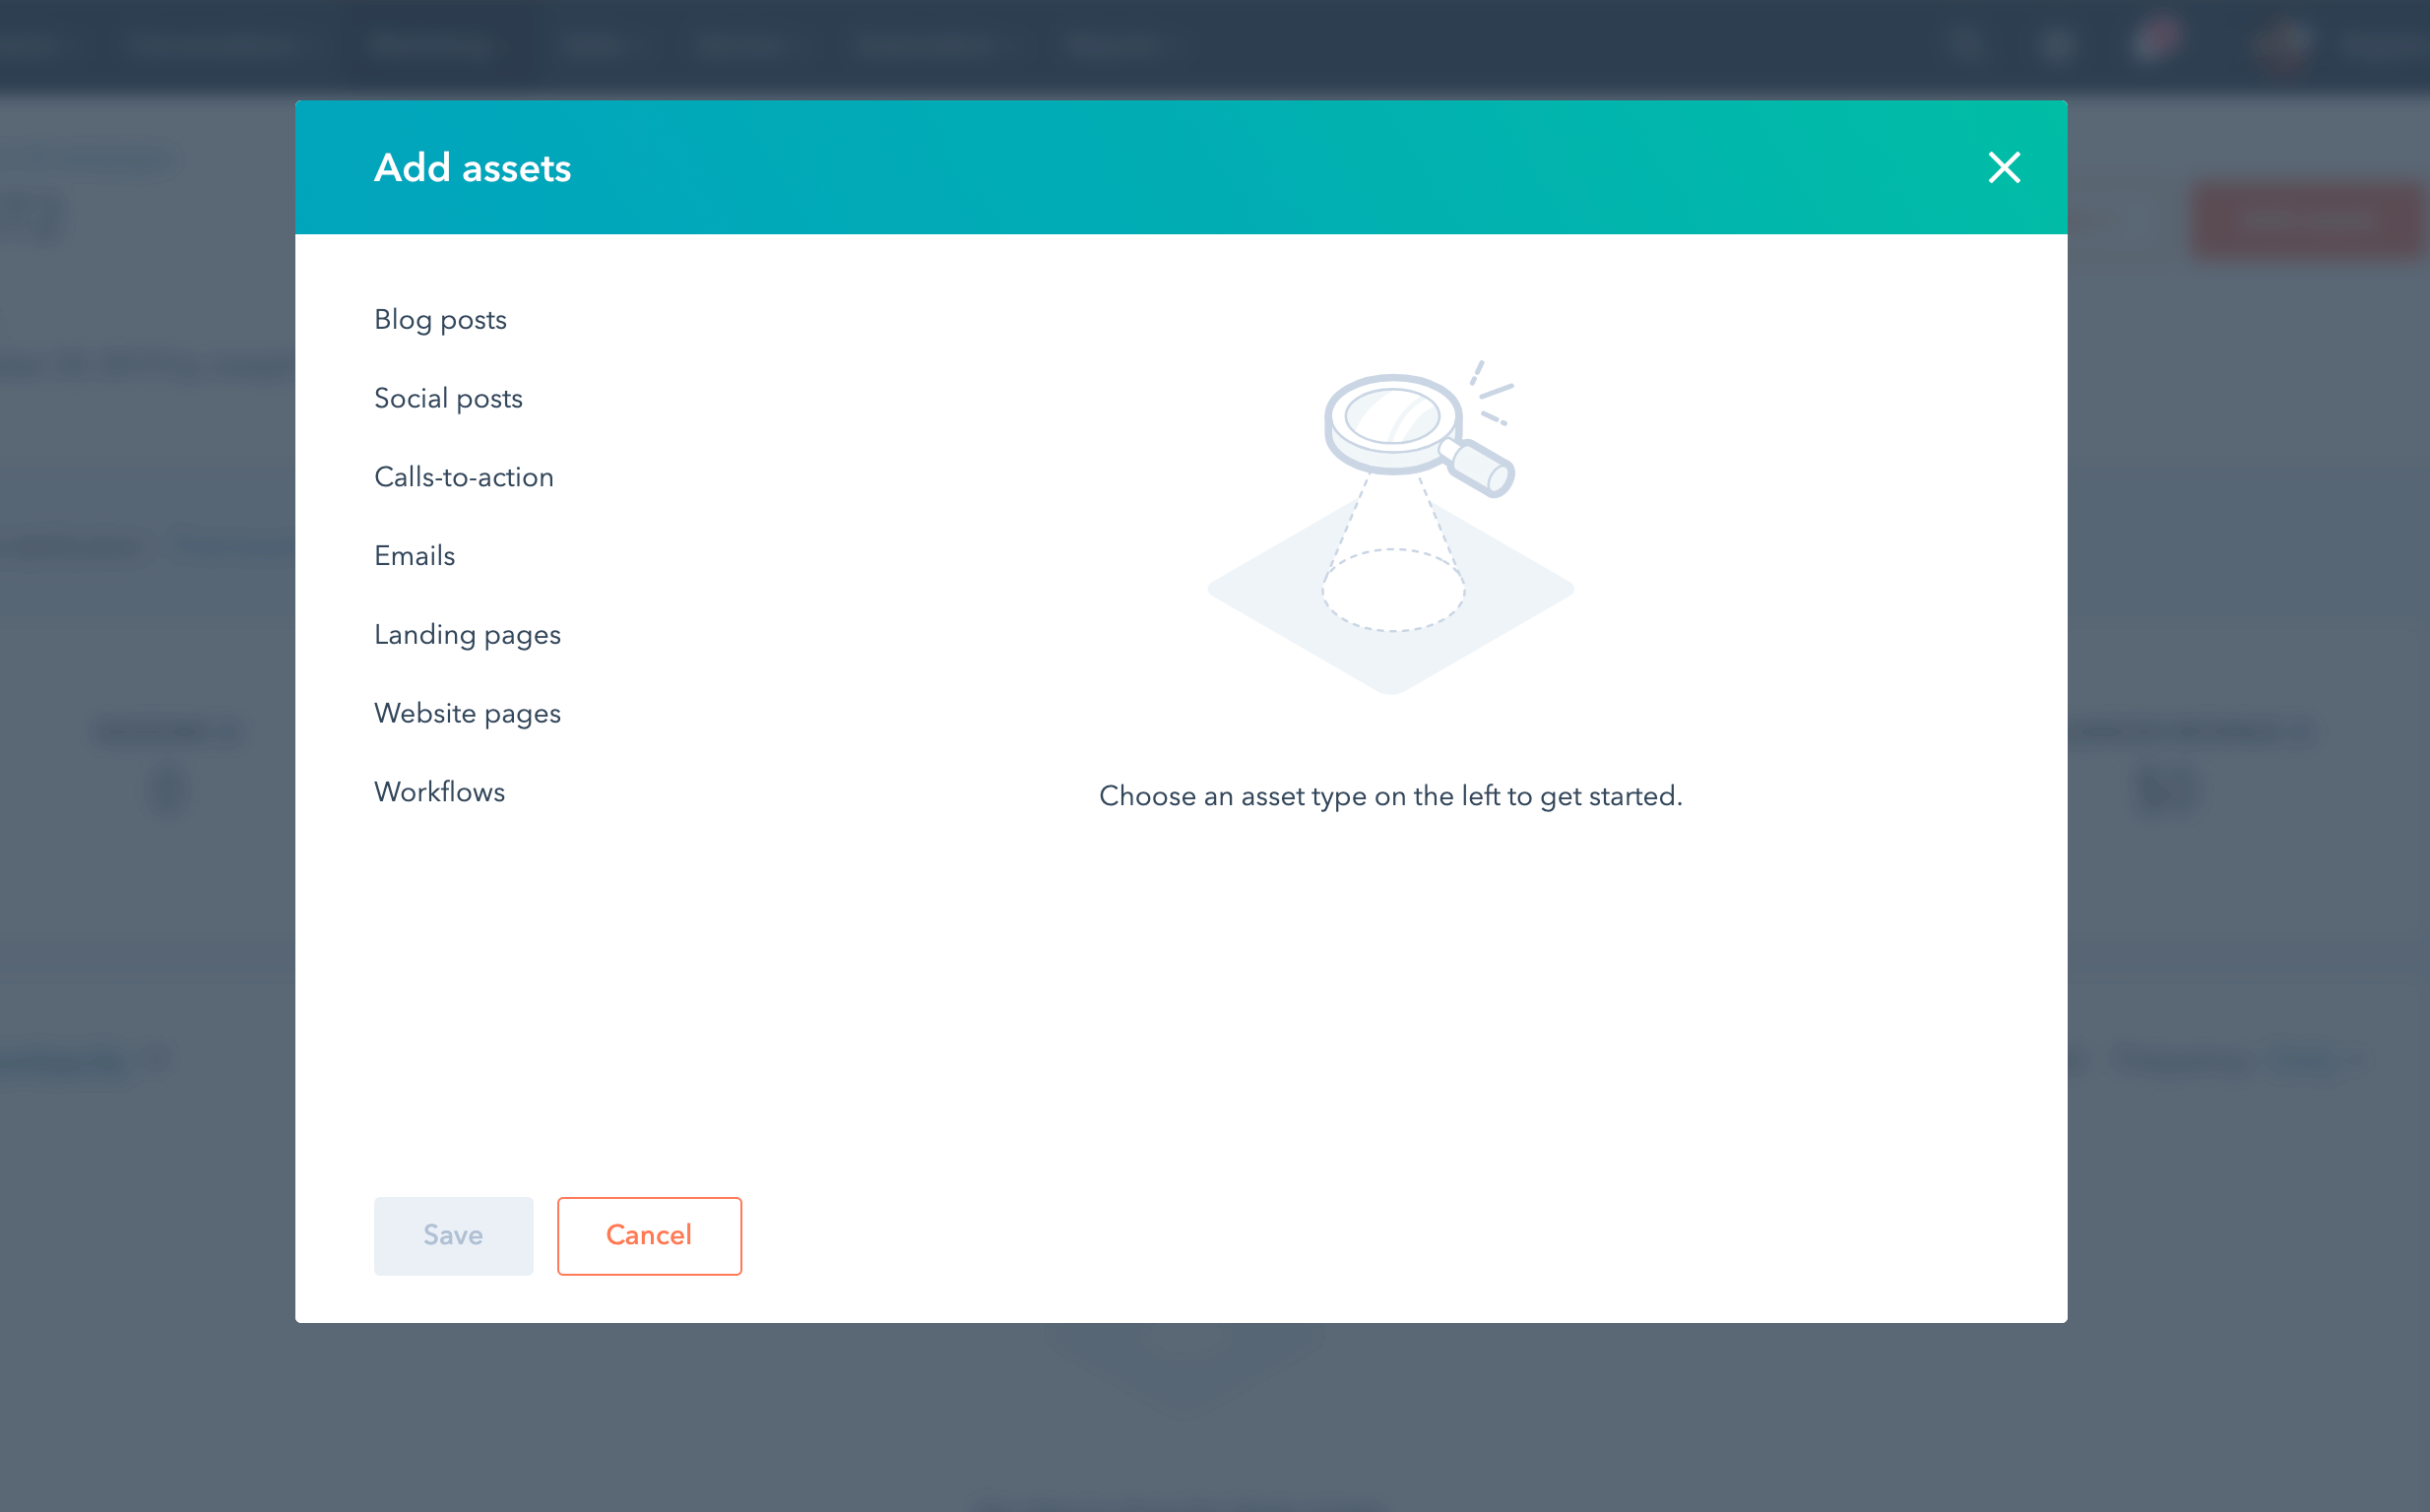
Once you have your campaign created, it is time to start getting all of your assets in HubSpot. It is very important to make sure all the assets you have created get associated to the campaign. You can do this at the campaign level once each asset is created in the campaign tool. You are also able to associate an asset in the asset tool. For example, when creating an email, you will be able to associate that email to a campaign in the email settings.
Assets that can be associated:
- Blog Posts
- Social Posts
- CTAs
- Emails
- Landing Pages
- Website Pages
- Workflows
Creating your form
Create a form that you want to use in order to capture your leads. Keep in mind what part of the funnel this form is in. This can help dictate the type of information you ask for.
For example, if this campaign is meant to capture leads that are more top of the funnel, you might not want to ask for information like a phone number or address. At this point in the buyer’s journey, contacts might not feel comfortable sharing. However, if this is a bottom of the funnel form and your sales team needs to know the location of the prospect before they talk to them, it is fine to ask in your form.
Creating your landing page and blogs
Based on the campaign, you might want to create some landing pages in HubSpot. Many times you will have multiple pages for your campaign including pages and thank you pages.
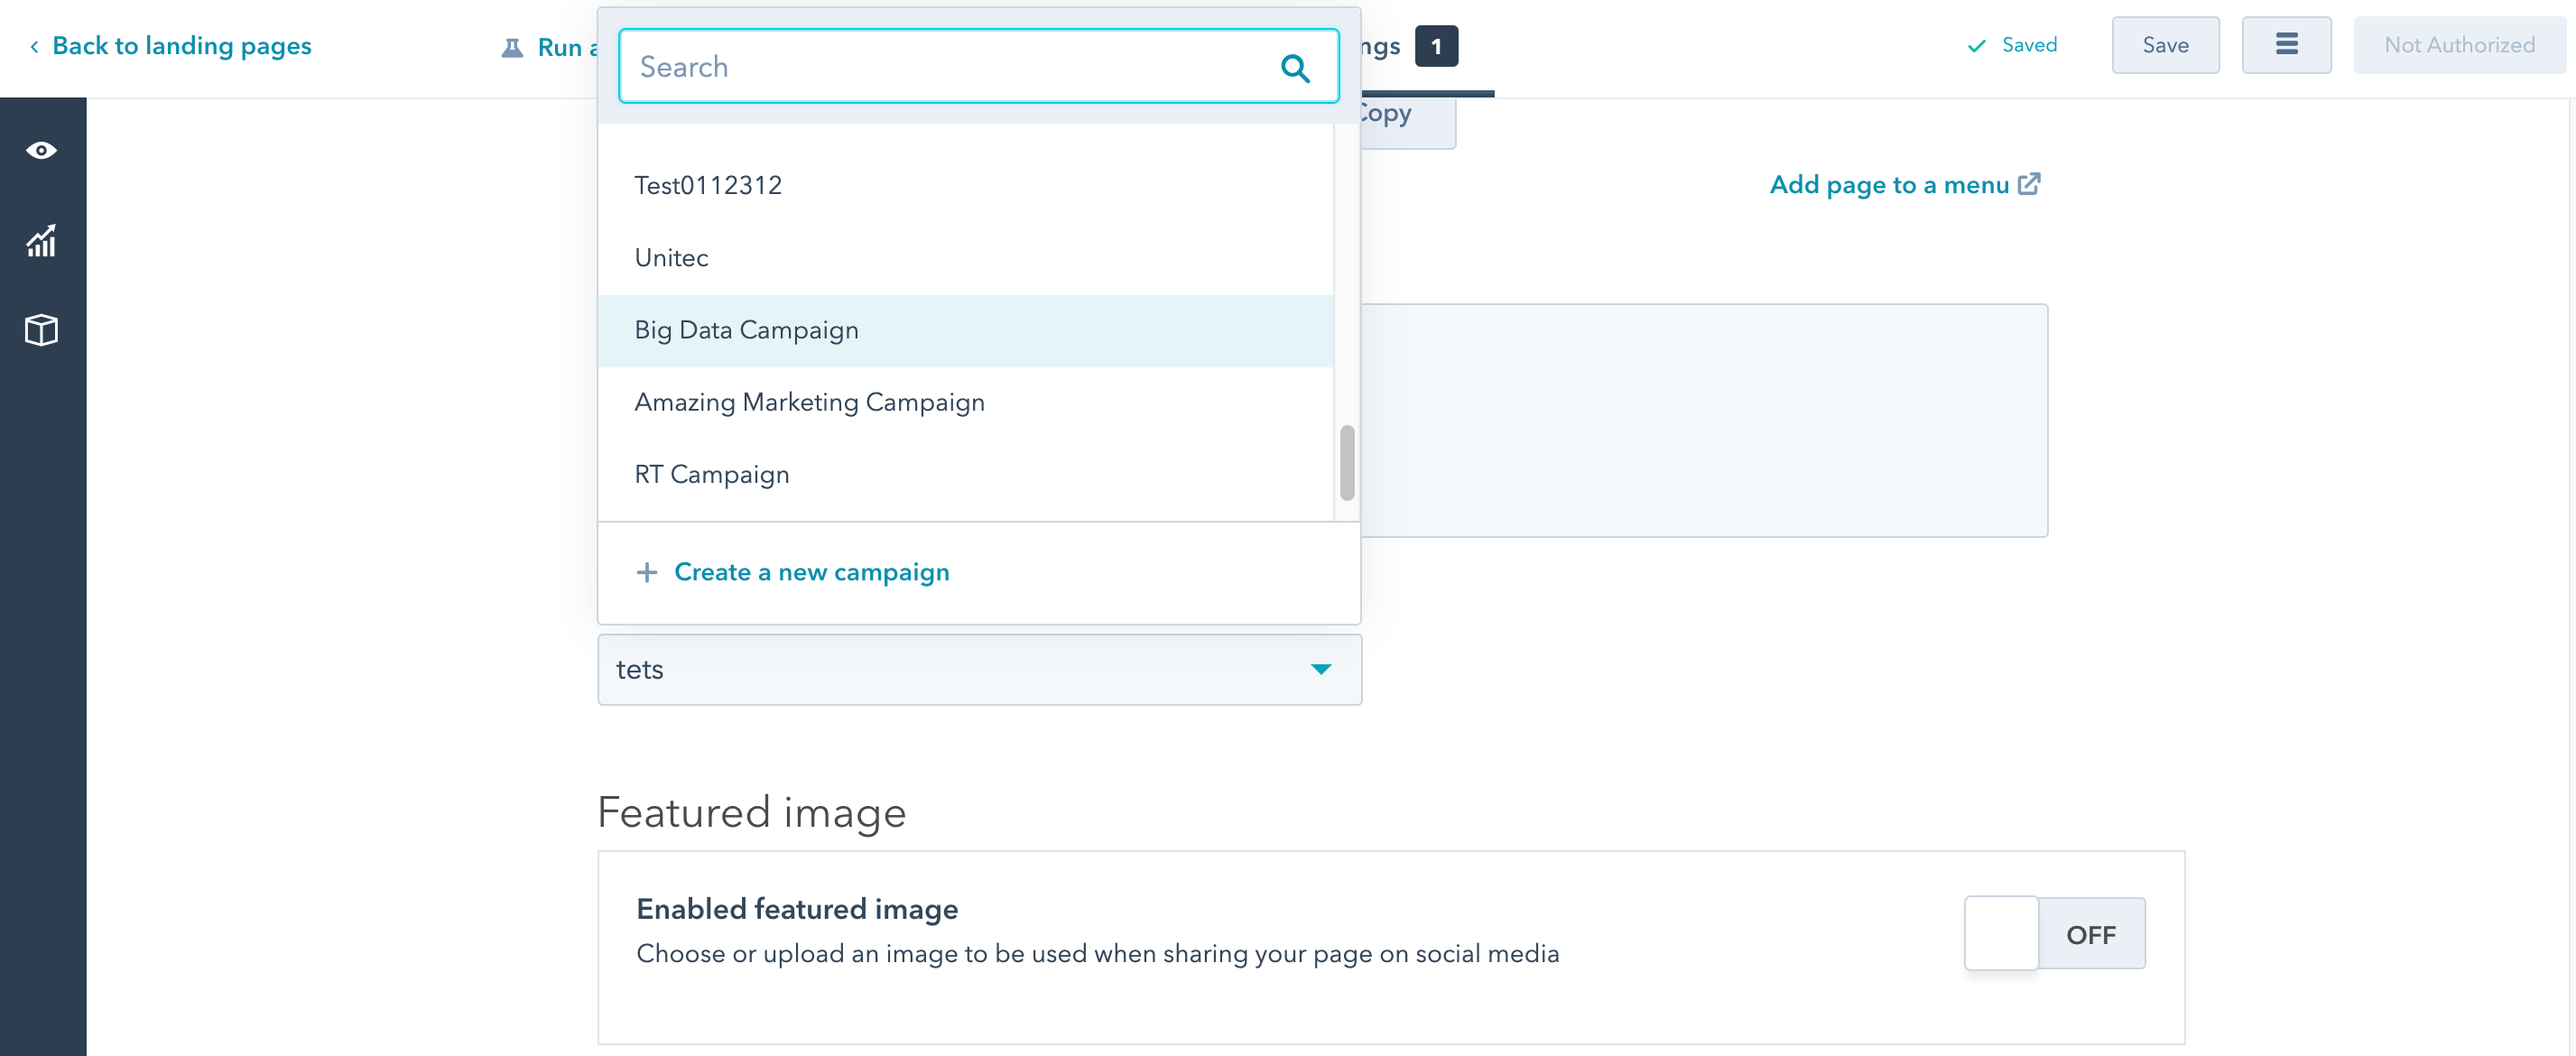
Associate all of your landing pages that you have created to the campaign when you are done. Any CTAs created for the landing page should be attributed to the campaign if they are campaign-specific. Keep in mind that assets can’t be associated to more than one campaign. If you are using a CTA for many campaigns, it might make sense to not associate it with any single campaign
This is the same with blogs. If you are specifically creating blogs for a campaign, you will want to add these to the campaign. However, if the blogs will be used for many campaigns, it might make sense to not associate them to a specific campaign.
Creating your emails
Once you have completed your form and landing pages, you are now ready to start with email communication. Create all emails that are needed for your campaign.
Just like landing pages, any CTAs here should be attributed to the campaign if they are campaign-specific.
Creating your workflow
Once you have the emails, you can then create your workflow. The complexity of this workflow is determined by what you are trying to accomplish.
You should keep in mind that you can assign multiple workflows to any one campaign. This means you can have both nurturing workflows and follow-ups, if needed.
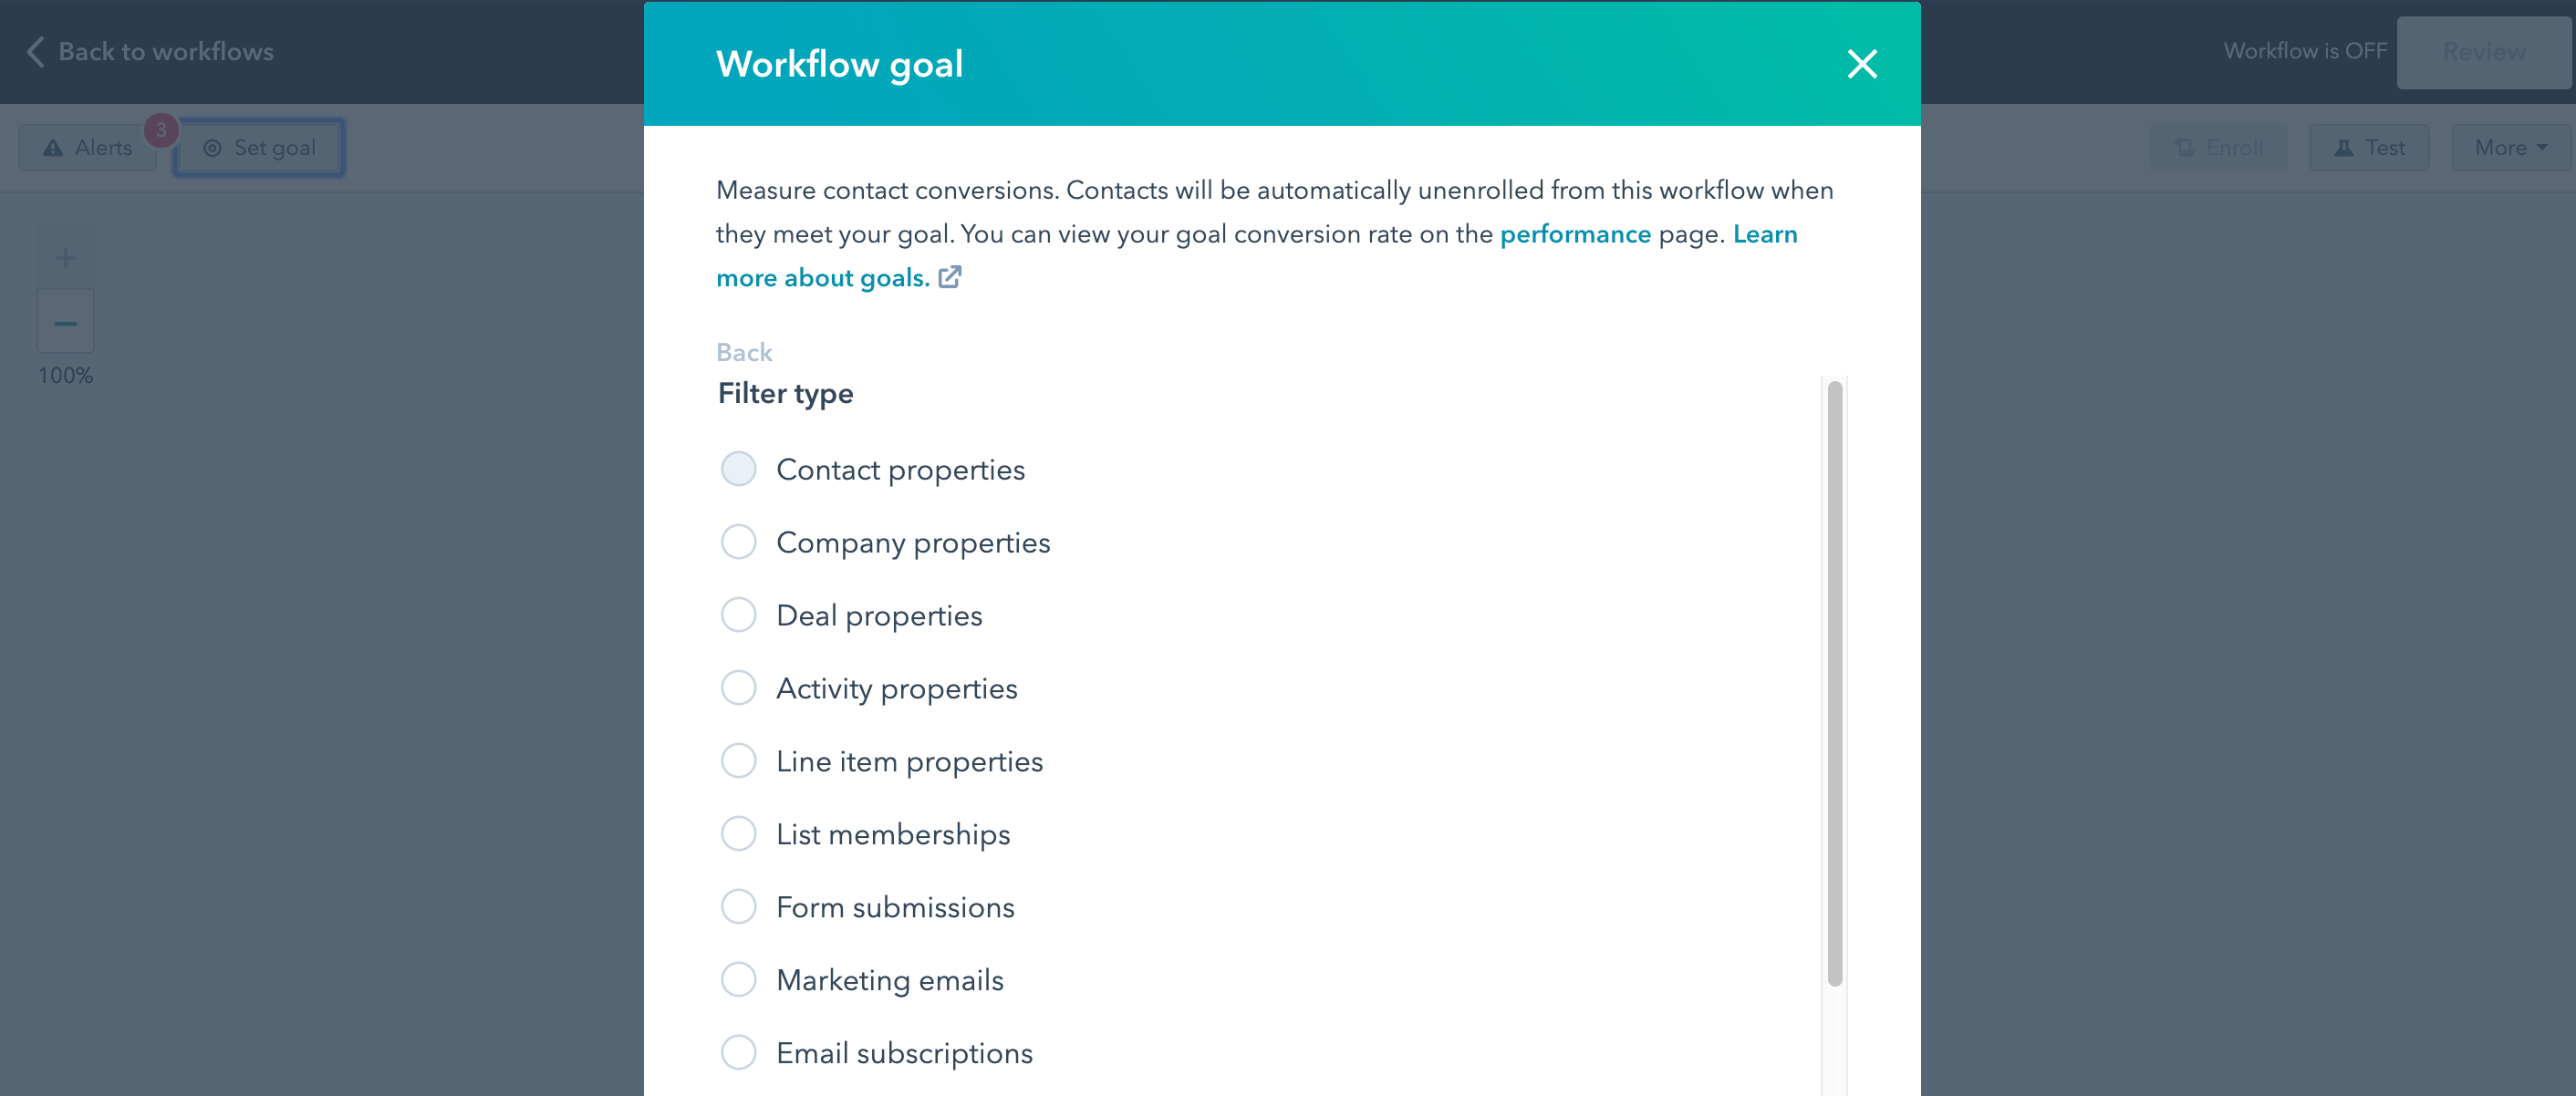
Make sure to keep in mind the workflow’s goal and set this up in HubSpot. HubSpot will help you gauge the success of a specific workflow by giving you a workflow conversion rate.
The goal should be exactly what the workflow is meant to do. If the goal of the workflow is to get a lead to submit a contact form, make the goal the contact form submission.
Creating your social posts
If your campaign includes social, make sure to create these posts in HubSpot and associate the social posts to your campaign. The more you can associate to the campaign, the better you will be able to holistically view the return on the campaign.
Generating custom tracking URLs for a campaign
Another HubSpot tool that can help attribute activity to a campaign is its custom tracking URL builder. This lets you build a URL to use outside of HubSpot.
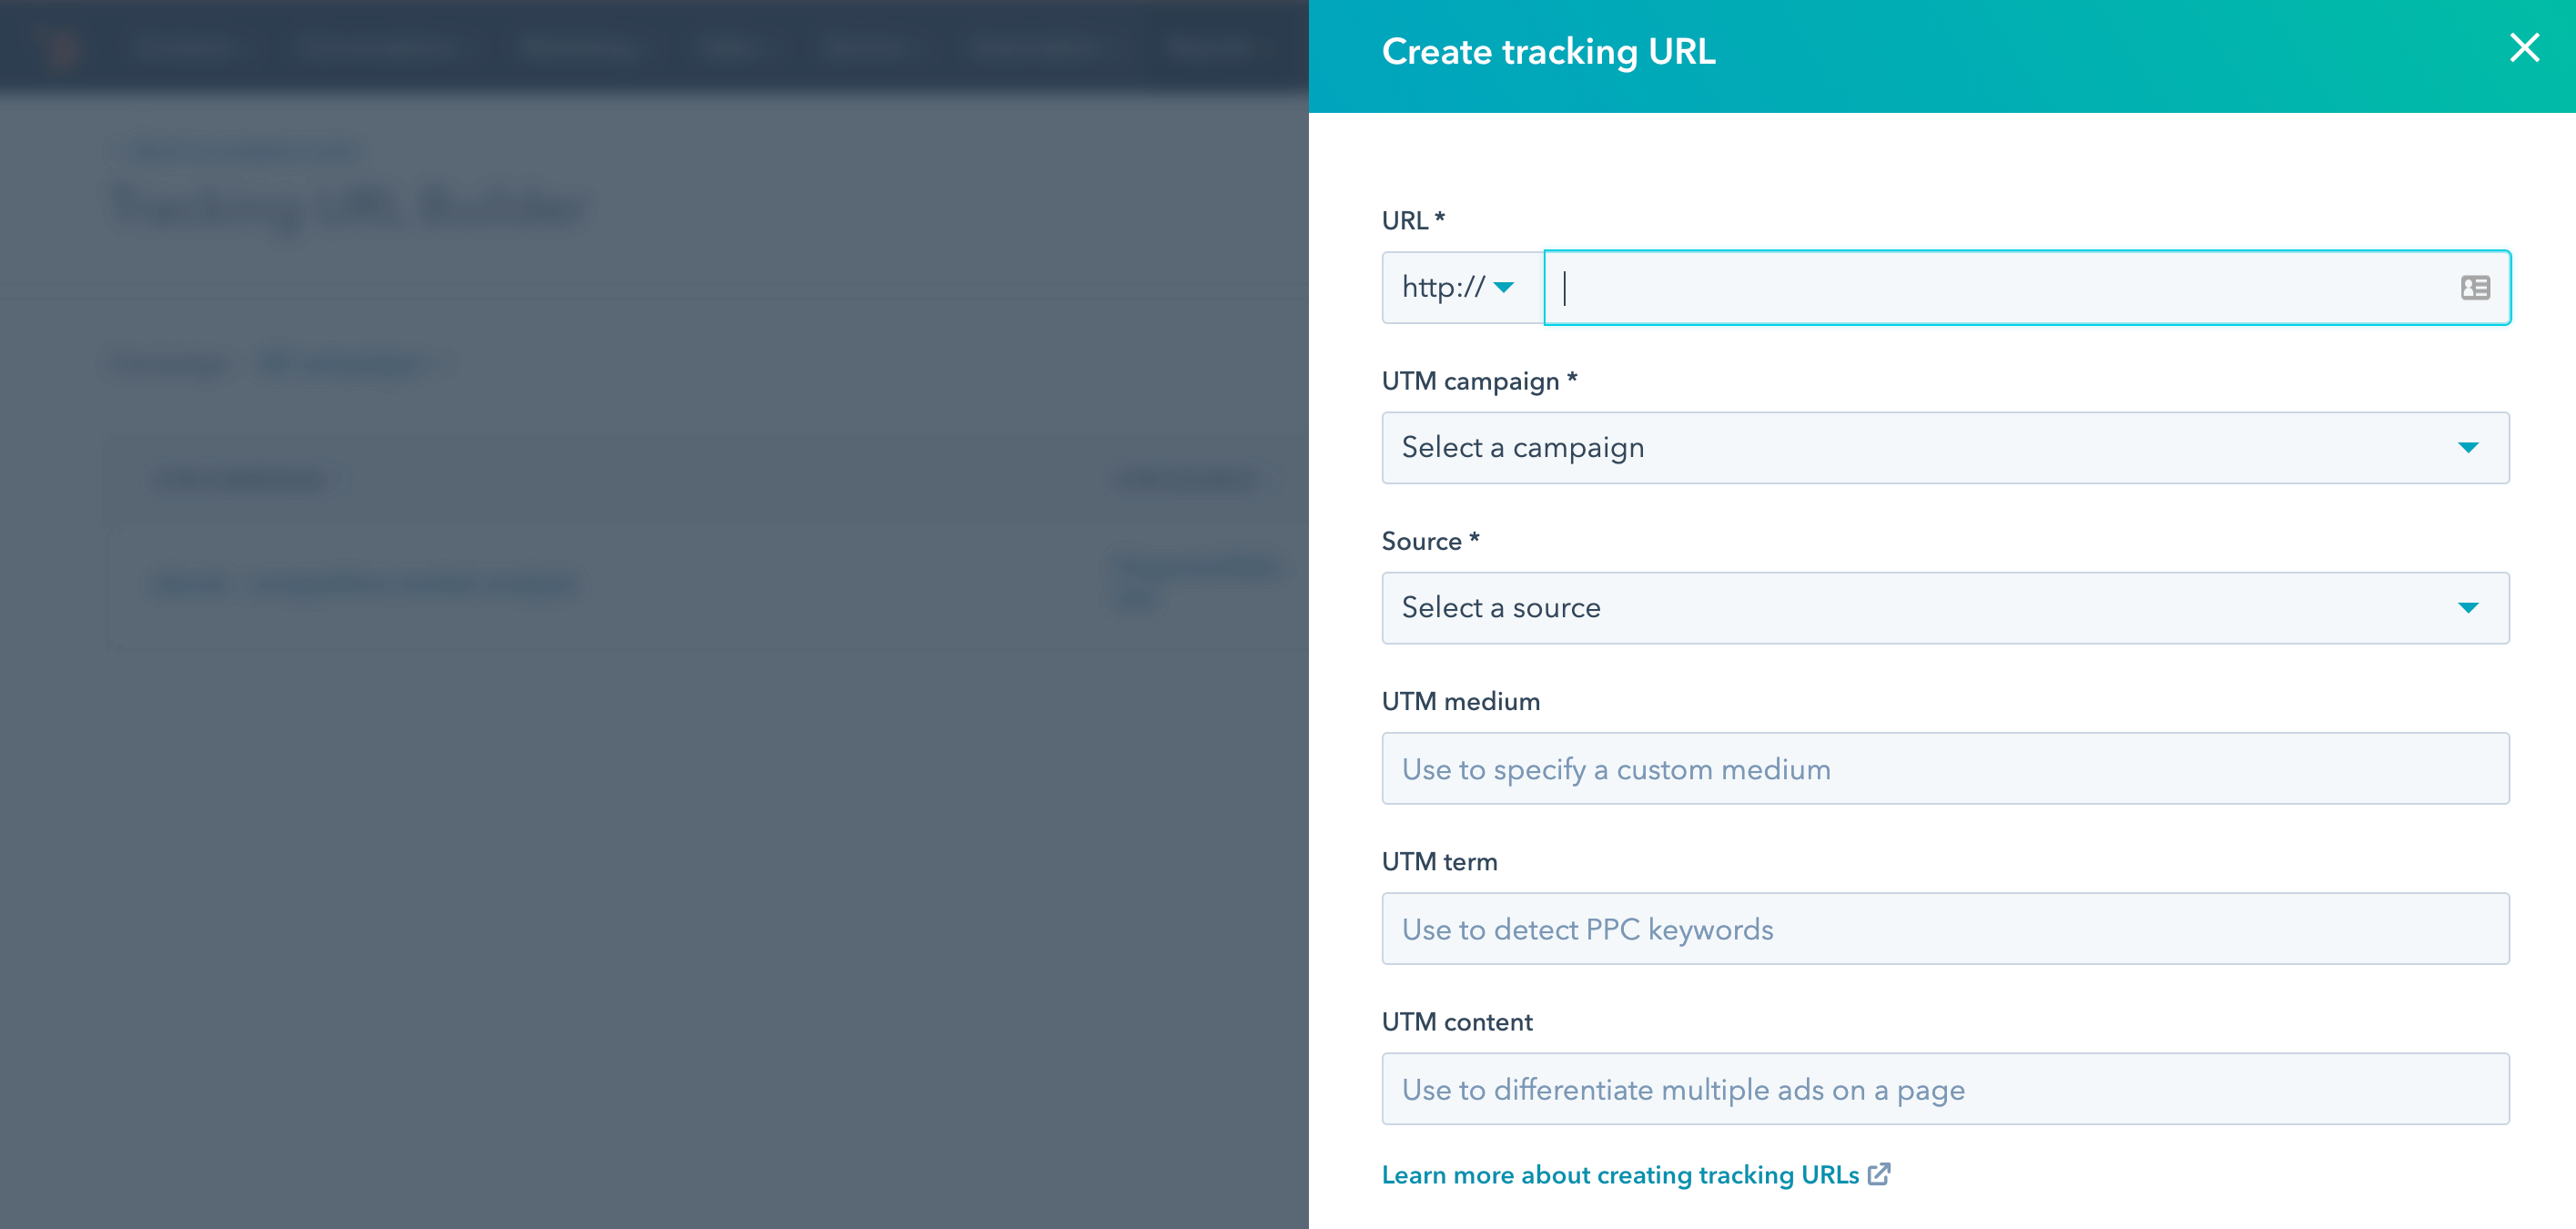
The great part about this tool is that you are able to associate the URL with one of your campaigns in HubSpot. This makes it easy to create custom tracking URLs for the right campaign.
Recording deals and revenue
Finally, in order to really get the most out of your campaign in HubSpot, you need to make sure you are tracking your deals and associating revenue to these deals.
Many times we see companies running campaigns without associating any deals to those campaigns. One of the most important reasons to use the campaign tool is to be able to attribute revenue back to a specific campaign in order to see the value of that campaign and overall return.
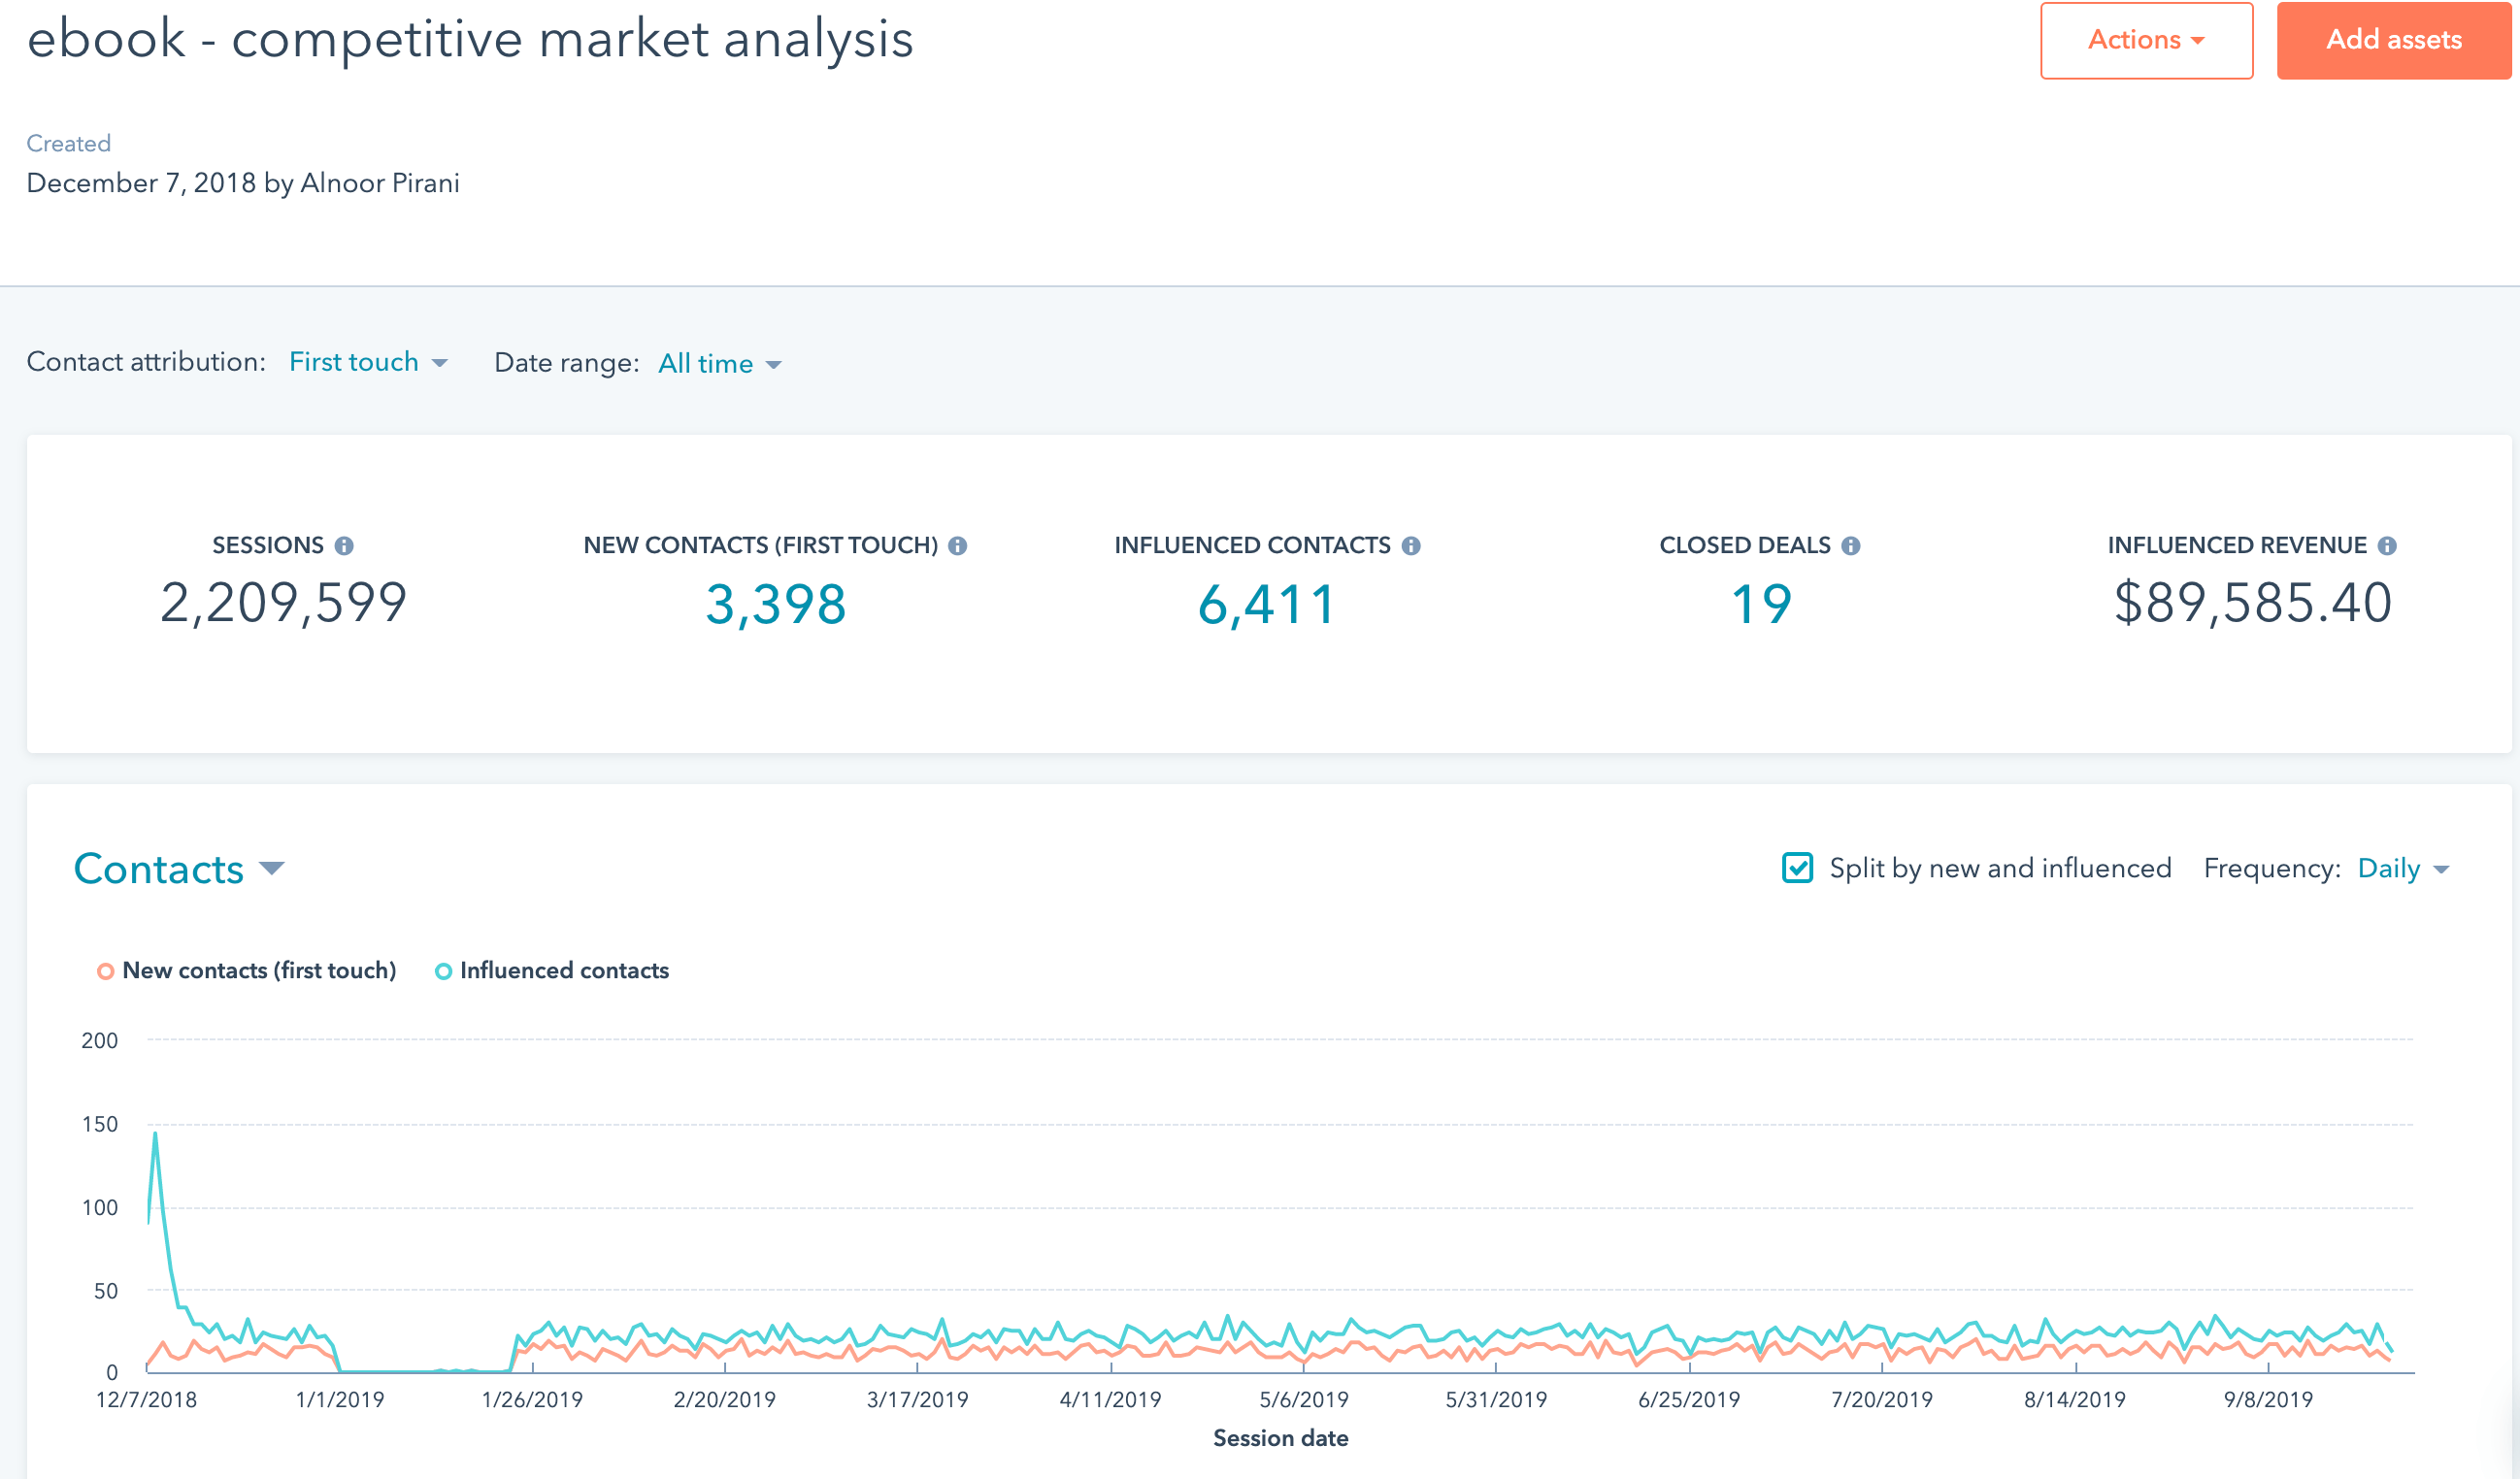
Creating deals and having contacts associated with the deal that have been influenced by the campaign is how HubSpot will add a revenue number to the campaign reporting.
Or, as HubSpot puts it, they record revenue by looking at “the total revenue of closed/won deals that are associated with influenced contacts. The total is from the sum of the Amount property of closed/won deals. Only influenced deals will contribute to this total.”
It can be difficult to see which part of a campaign specifically led to a conversion because of how HubSpot attributes revenue.
If you want to track attribution from a specific channel, it might make sense to create separate campaigns for each type of channel or asset.
For example, if you want to see how much revenue just a landing page influences, you will want to create a campaign with just the landing pages and have a separate campaign for the other assets. This way, if a contact interacts with that landing page and then closes a deal, the campaign associated with the landing page will be attributed to the influenced revenue.
If at any point you want to look at the campaign as a whole, it is easier to aggregate all the different campaign data than to separate each type of asset and the revenue it is influencing.
Run your marketing campaign
Once you have completed these steps, you have successfully added your campaign to HubSpot in a way that allows you to track your ROI!
Now you can see how your campaign performs. In the next article, we will look at how to best analyze and report on your campaign to see how effective it is.

Order Your Copy of Marcus Sheridan's New Book — Endless Customers!