Topics:
Video MarketingSubscribe now and get the latest podcast releases delivered straight to your inbox.
Need to Set up a Killer Office Video Studio on a Beginner Budget? Here's What to Buy

By Zach Basner
Apr 6, 2023
With the vast amount of equipment options, cameras, lights, and accessories, the task of setting up a video studio in your office can be intimidating. Even more so if you’re on a tight budget.
But is tight budget going to limit my success? And although there are many options, could those options be filtered using some basic criteria?
The answer, I’m delighted to say are, no, your budget will not define your success and yes, I’m going to give you all the criteria you need to confidently set up this studio.
But first, let’s address two important questions that are likely at the top of your list.
Can I use a smartphone setup?
Yes, you could, however, I don’t recommend it, at least if you have the means to purchase and operate stand-alone digital cameras.
Although smartphone cameras are getting better every day, it is still advantageous to use proper cameras for your marketing/sales videos due to the flexibility in equipment and range in quality.
Should I look for used equipment?
Absolutely. Half of my video equipment is second-hand and I’ve saved thousands of dollars this way.
In particular, I dig through the used section on sites like B&H Photo and Video and Adorama to look for deals on a regular basis. There is an element of quality control on both websites that eliminate my concern of buying used equipment that is damaged.
Now, let’s get to it. I’ve broken this article into the five key elements you’ll need for your studio:
- Backdrop
- Lighting
- Tripods
- Camera
- Audio
Let's cover each one and look at some inexpensive options for your space.
Backdrop:
Let’s start by removing one of the most common obstacles: What to shoot in front of.
The fact is, not everybody has a camera-ready office or place to record videos. Not to mention, if your goal is to actually set up a studio, you’ll likely be using a room or space that’s undesirable for other functions; it’s just logical when you’re just getting started.
There are still plenty of options, though, two of which I’d like to highlight for a beginner budget.
The main considerations when it comes to your backdrop are :
- The size of your space
- How you want to represent your office environment
Here are two of my top recommendations with these in mind:
1. Background System ($180)
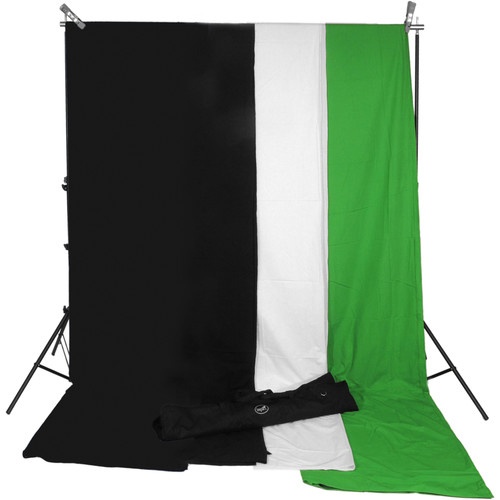
If you’re setting up the studio in a cramped space, you likely won’t have room for a full set, which makes a background system likely the best option.
These are a good, inexpensive option because they are easy to set up and provide a clean, solid background for your subject. Additionally, a flat white or flat black color will help the skin tones and clothing stand out.
Although you need a good bit of room for good green screen lighting, you can light a black or white background pretty easily with limited space and lighting.
2. Decorated Set
If you want a unique, creative environment as your backdrop then perhaps a trip to IKEA or other inexpensive furniture options is a good idea.
For less than a thousand dollars, you could decorate your studio with modern furniture, simulating a real workspace, even if the rest of your office looks nothing like it.
(Note: I hope IKEA appreciates this plug.)
Lighting:
Purchasing lighting can be a tricky process, especially if you’re new to videography. Lighting sets come in a nearly infinite variety of options and price ranges and this is one area you don’t want to be cheap in. It can only produce a cheap result.
Two main considerations I always make when it comes to lighting are portability and flexibility in terms of output. In other words, if possible, it’s nice to have variable brightness and color temperature settings like those below:
1. SAVAGE LED Portrait Kit with Dimmable LEDS and Softboxes ($180)
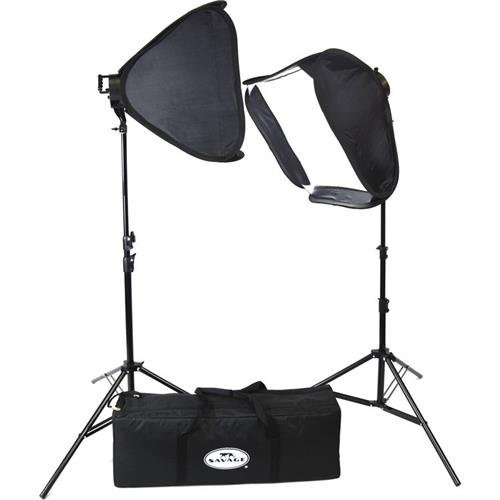
If you don’t plan on moving your equipment around on a regular basis, then some basic studio lights like this will be more than adequate. The addition of softboxes will diffuse the light output, which helps eliminate harsh shadows and glares.
2. NEEWER 2 Pack Bi Color 660 LED Video Light and Stand Kit ($210)
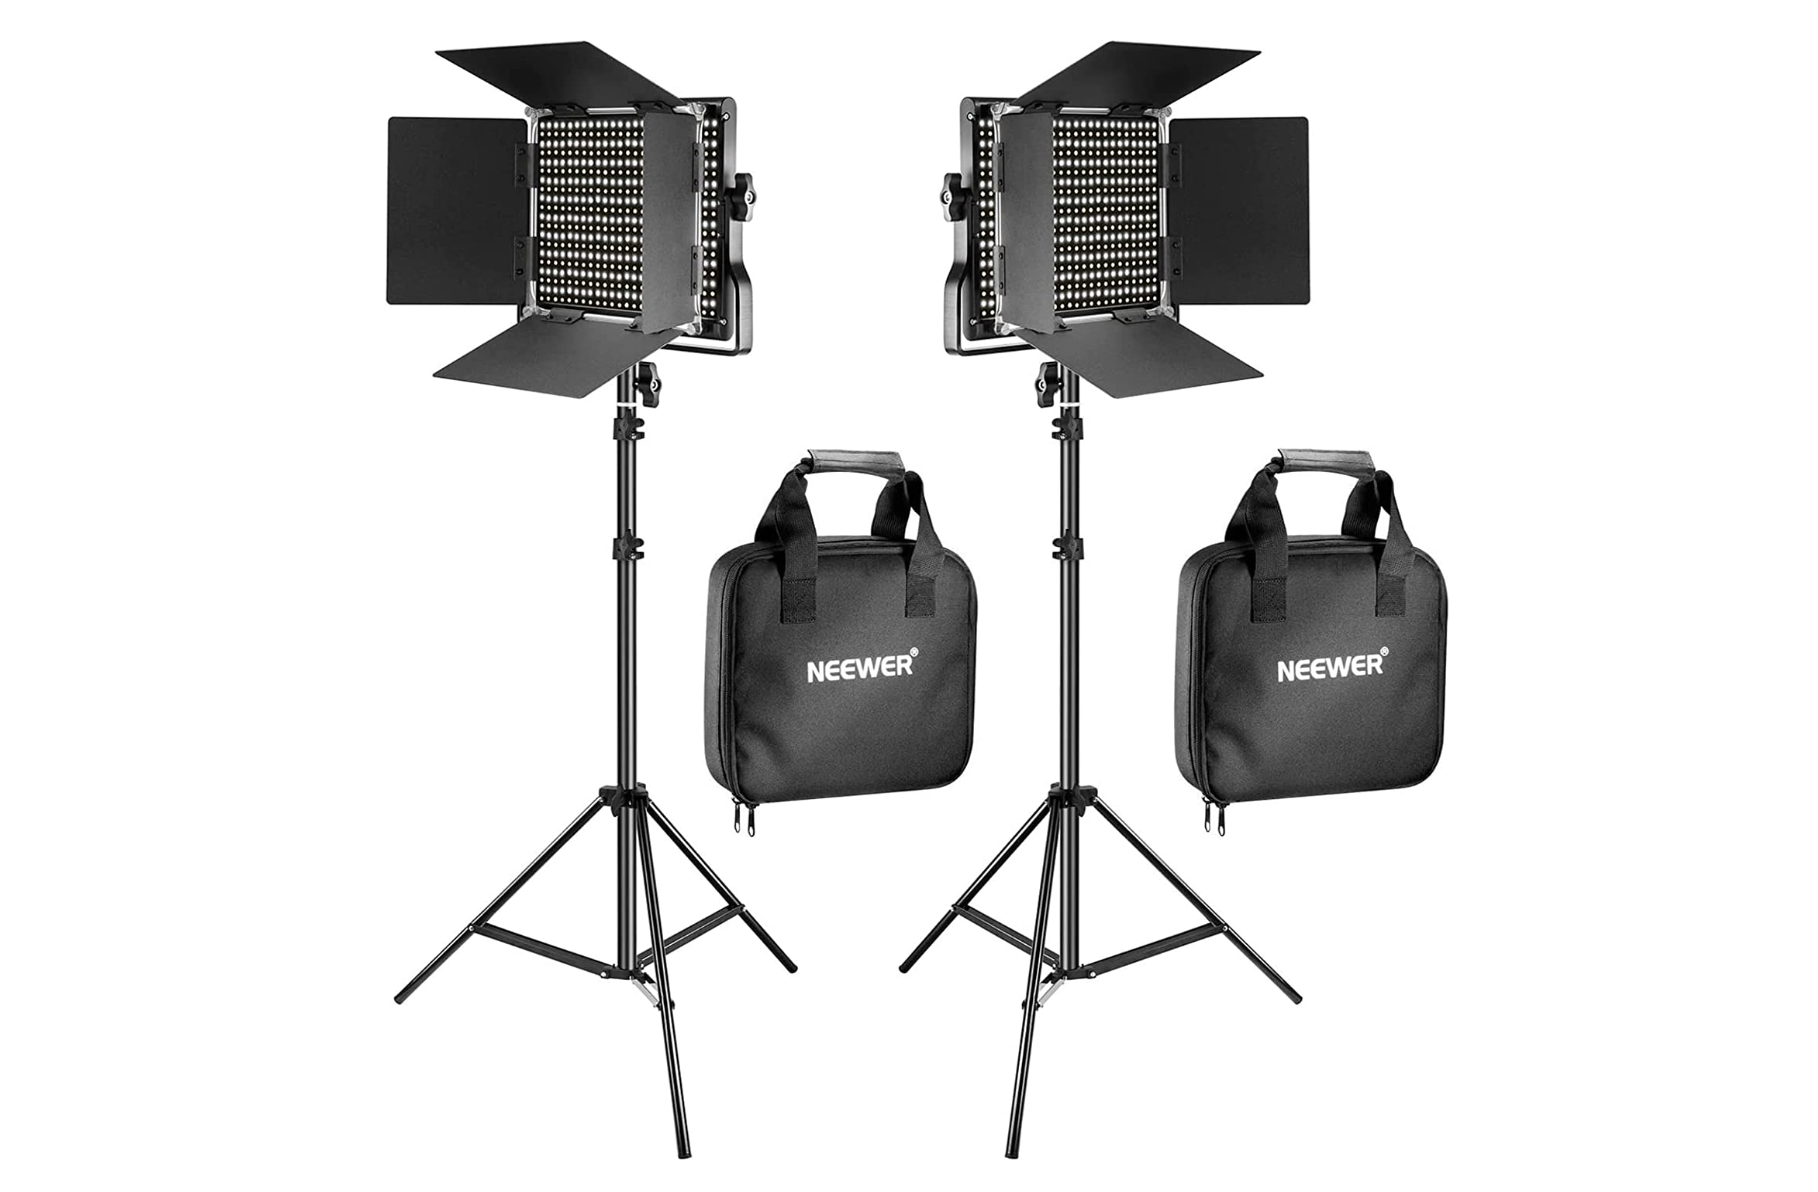
If you plan to shoot in a variety of locations, even without subject or talent, having portable, battery power lights like these is going to be valuable.
Additionally, it’s important to have adjustable bi-color lights because you will need cooler or warmer colors in different environments.
In addition to lighting sources like the ones listed above, you should consider diffusion panel(s) ($80) to diffuse a light source and eliminate harsh shadows and glares. A diffusion panel is an inexpensive, portable tool to have around and will work with any sort of light source.
Tripods:
Unless you’re shooting your videos handheld, you’ll need to get a tripod for your camera.
While there are many inexpensive options out there, I generally discourage going with the cheapest option.
Price aside, you should really take the following into consideration when evaluating tripods:
- Fluidity of the tripod head: If you’re using pan or tilt movements (up and down, side to side) in your footage, you want them to be smooth. Otherwise, you’re going to have shaky, unprofessional videos.
- Quality of the build: There are a lot of moving and locking parts on a tripod. If you opt for an inferior product, these parts can get worn out and will need to be replaced, adding to your expense.
Considering how often you’ll be using your tripod, it’s an important purchase.
These are a couple of my top picks for tripods based on our criteria above plus overall function, portability, and price.
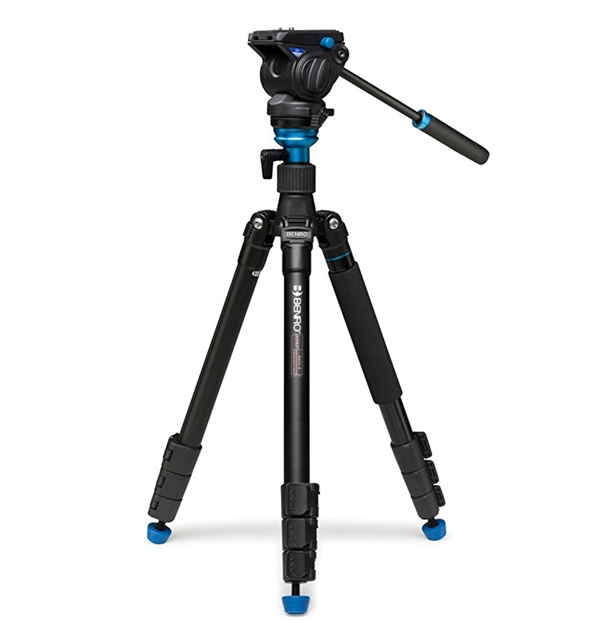
1. Benro Aero 4 Travel Angel Video Tripod Kit ($290)
![office-video-studio-tripod1]()
If portability is a major factor for you, this is a very lightweight, compact option. Plus, it still wields a great fluid head for the price, sturdy locking hardware, and a bubble level.
2. SmallRig 68" Camera Tripod, Foldable Aluminum Tripod & Monopod ($60)
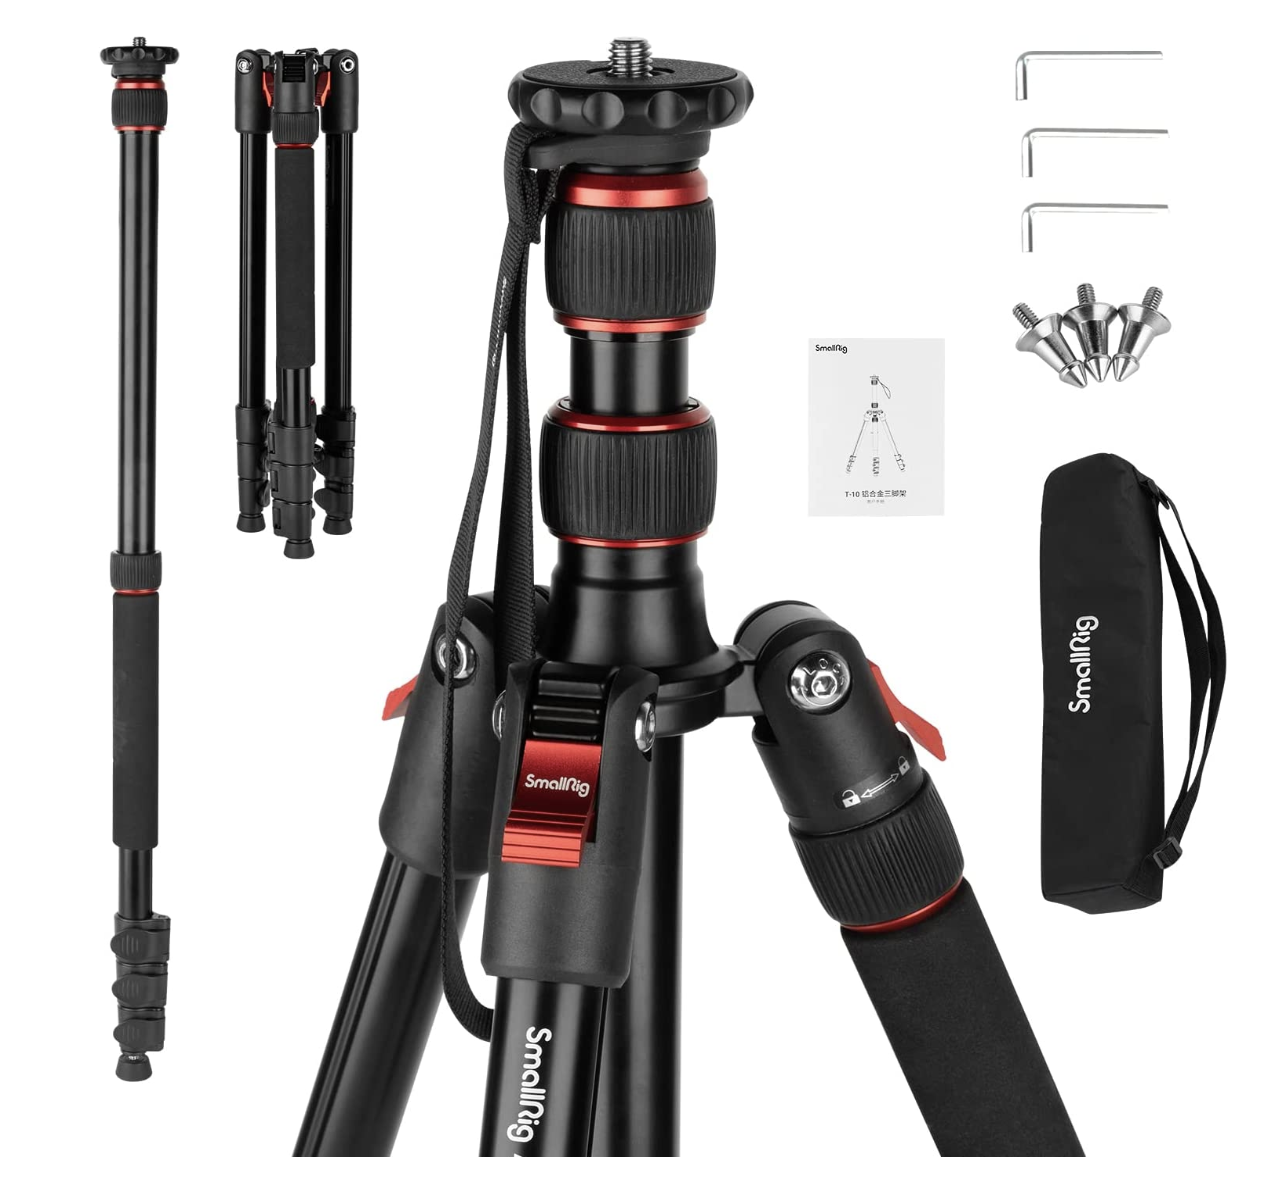
Although it doesn’t look like much, this is actually a great budget option. It’s actually my personal studio tripod. The twin legs and middle spreader help keep the tripod from getting knocked over with heavy equipment, and the professional video fluid head is superb.
Camera:
No surprise here; This decision is likely the most important decision you’ll make when it comes to your studio. Even under the best lighting, with the greatest set, and with clear, beautiful audio poor quality footage will likely not represent your brand very well.
As with any other purchase, you want to find the best value for your needs and in this instance, that really comes down to image quality and easy-of-use (usually based on auto-focus capabilities).
This is going to ensure that your finished videos look high quality even after intense edits and also remain crisp and focused on your subject.
The two options below are great for a beginner budget, can keep their value if you decide to upgrade later, and will give you a reasonable starting point in terms of picture quality.
1. Canon EOS 90D Digital SLR Camera ($1,200)
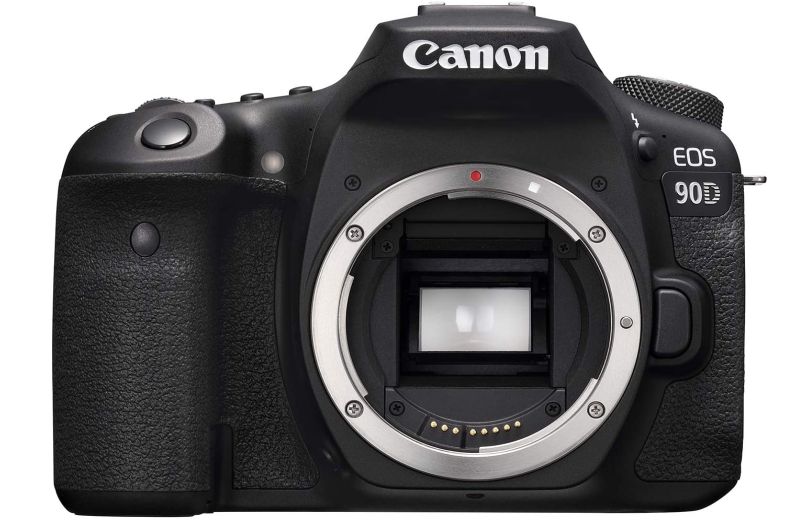
Starting out at around $1200, I stand by this Canon camera because of its Dual Pixel autofocus System which delivers quick and accurate live focus tracking, ensuring your subject remains in focus throughout your videos.
Additionally, features like image stabilization and a 32.5-megapixel sensor will make for a crisp, clean image, giving you a professional look.
You'll need a lens, too. This option from Canon is a good workhorse at $880.
2. SONY a7 III Full-Frame Mirrorless Interchangeable-Lens Camera ($1,400)
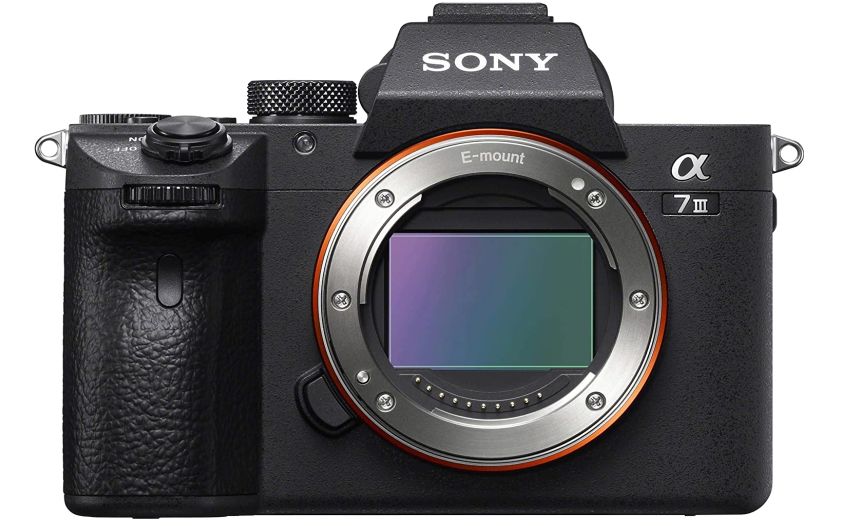
This is a truly powerful mirrorless camera option for a company that is beginning its video journey.
The autofocus system is extremely fast and has almost three times the amount of focus points as the Canon listed above, even in low light conditions.
Picture quality is light years ahead, offering 4k resolution and a high dynamic range. Without getting too nerdy, this camera offers an incredibly sharp image.
This option is also camera-only, so you'll need a lens as well. I recommend this Sigma 24-70mm zoom option, which will cost another $1,050. But you could also go with a cheaper option like this for $500.
Audio:
Audio is a very important part of this equation. There is nothing more distracting than audio riddled with hissing or buzzing or even worse, audio that sounds like it was recorded through a tin can.
If you’re on a budget, you can simplify your audio hardware and still sound great.
Your main concerns should be:
- The acoustics of the environment: If the room is equipped with noisy equipment or other background noise, that will be a factor. Likewise, if the room has an echo, you’ll need an option that will eliminate that.
- The number of subjects you are shooting: If you’re shooting with one subject, that eliminates the need for multiple microphones or microphones that will pick up more dialogue.
It’s important to also capture your audio on a separate recording device from your DSLR camera.
These cameras tend to produce static noise that will affect your audio recording. The two options we’re recommending below are field recorder and microphone combos, meaning the microphone pack IS an external recorder.
1. Tascam DR-07X Stereo Handheld Digital Audio Recorder ($150)
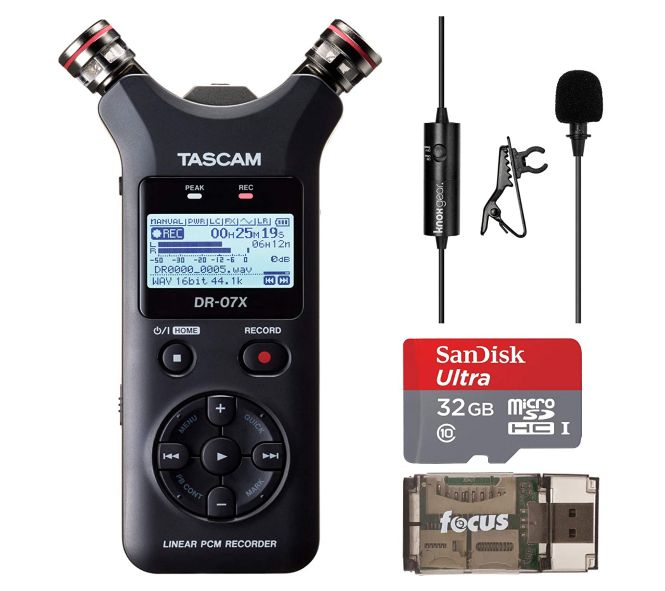
If you’re filming in a busy area, with lots of background noise, I would recommend using a lavalier microphone, which is a small clip-on lapel mic that is commonly used by public speakers.
This way you are picking up your subject's dialogue very close to the source. Similarly, if you’re shooting in a large room or with poor acoustics, this will cut down on echos and factors.
2. Zoom F1-SP Field Recorder & Shotgun Microphone Bundle ($250)
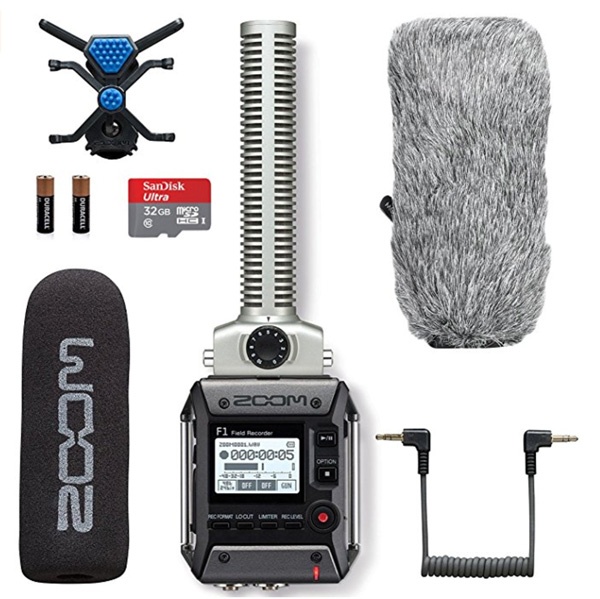
If you have more than one subject, you’ll need multiple lavaliers or a shotgun microphone that will capture multiple voices in a given area.
When it comes to audio specifically for your in-office studio, you should also consider looking into acoustic panels like these from Amazon ($17).
These are great for rooms with poor acoustics. In other words, if the sound is bouncing off of many hard surfaces or if the room is somewhat big, acoustic panels absorb and dampen sound and eliminate echoes.
Why a beginner budget shouldn’t stop you
Like any investment, it’s important to clearly identify your needs with an office studio to determine where you can save a bit and where you should splurge.
Using the criteria I’ve mentioned in this article, you can begin to narrow down which items these are.
As you look around for equipment, thoroughly check reviews and testimonials from real consumers — but, even if an item has an abundance of five-star reviews, it’s worth looking at the one- and two-star reviews to see what drawbacks people have come up with. Oftentimes, you’ll find nuanced issues in the lesser quality reviews.
Overall, my advice is this: don’t jump into your studio purchases mindlessly. Like everything in your marketing approach it strategically with value in mind.


Order Your Copy of Marcus Sheridan's New Book — Endless Customers!
